I was familiar with the use of a histogram before this exercise but I confess it’s a tool I use in post processing more than during a shoot. Before the course I would generally shoot in Shutter mode for wildlife and Aperture mode for everything else and let the camera do the rest – sometimes changing metering to spot but usually averaging the image. I would however use the exposure compensation dial quite a lot depending on the situation (and then forgetting about it and wondering why my next 20 images are way over or underexposed …doh!)
During shooting I would never look at the histogram and I’d never use auto. Let’s change that then.
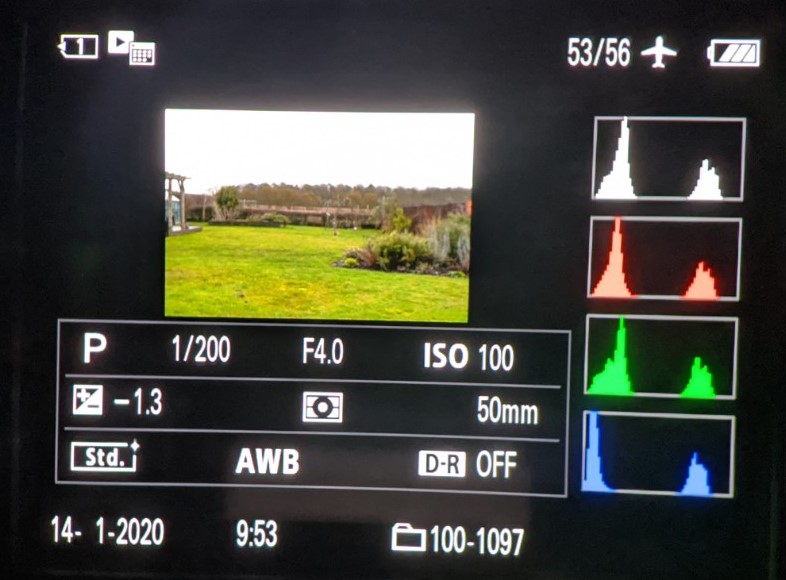
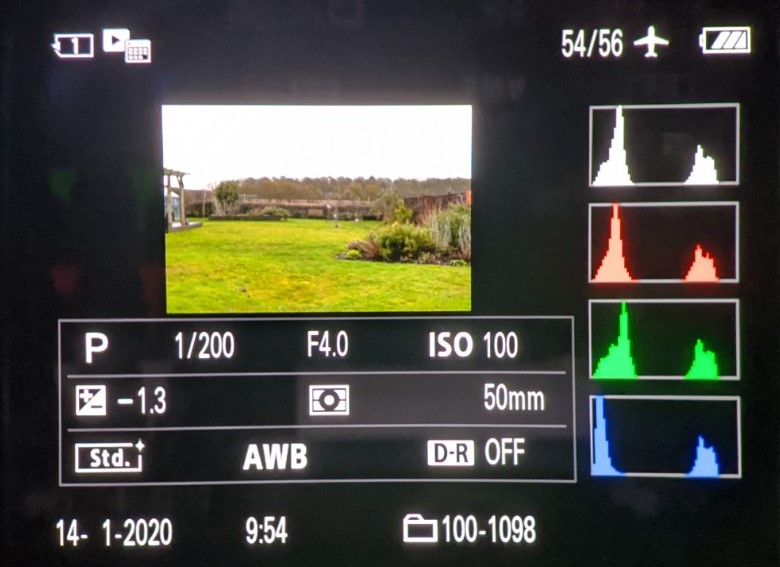
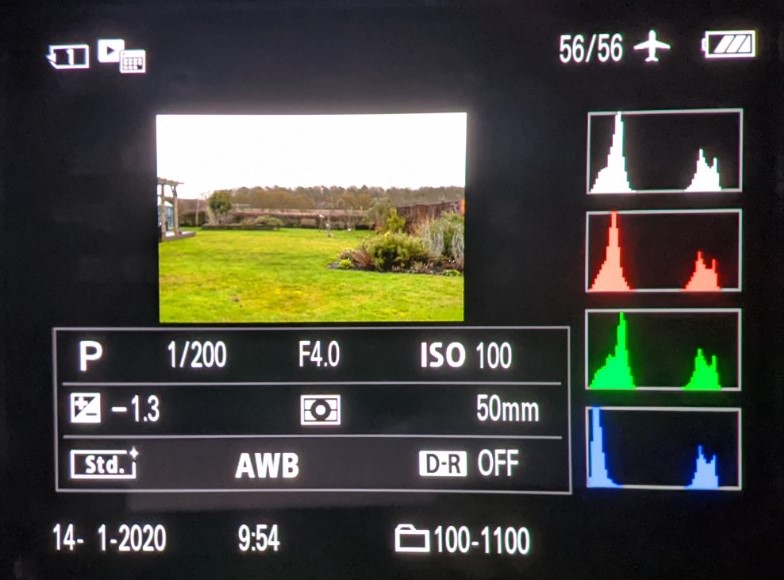
I took two sets of images. Both sets were on a tripod. One outside and one inside.
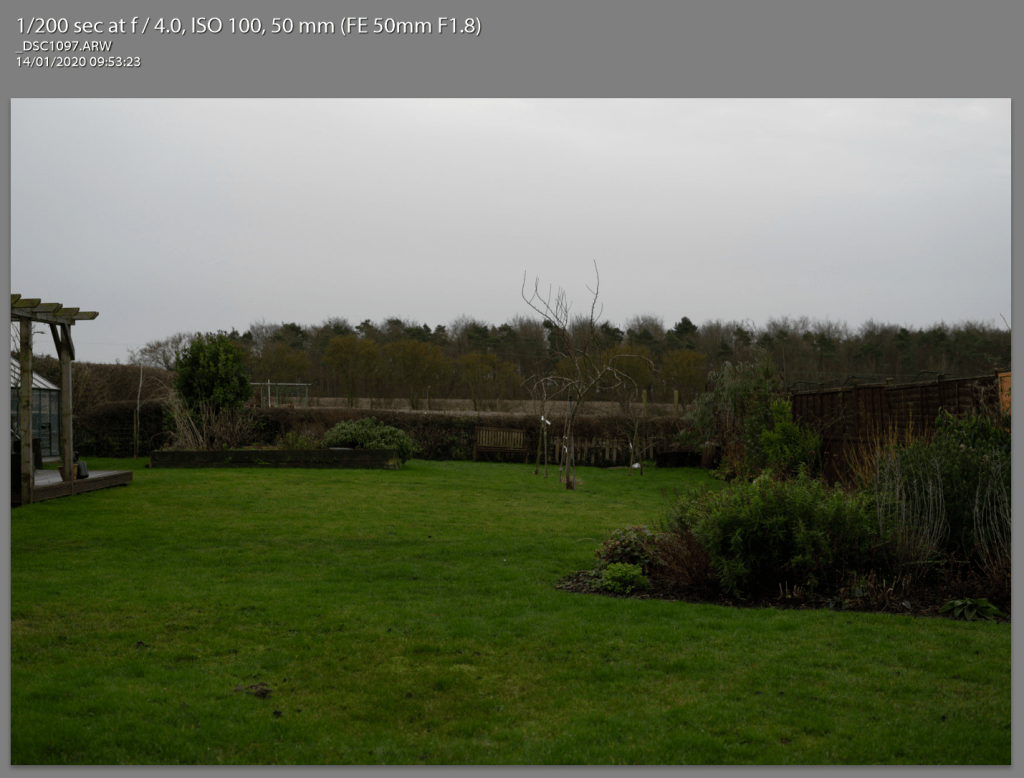

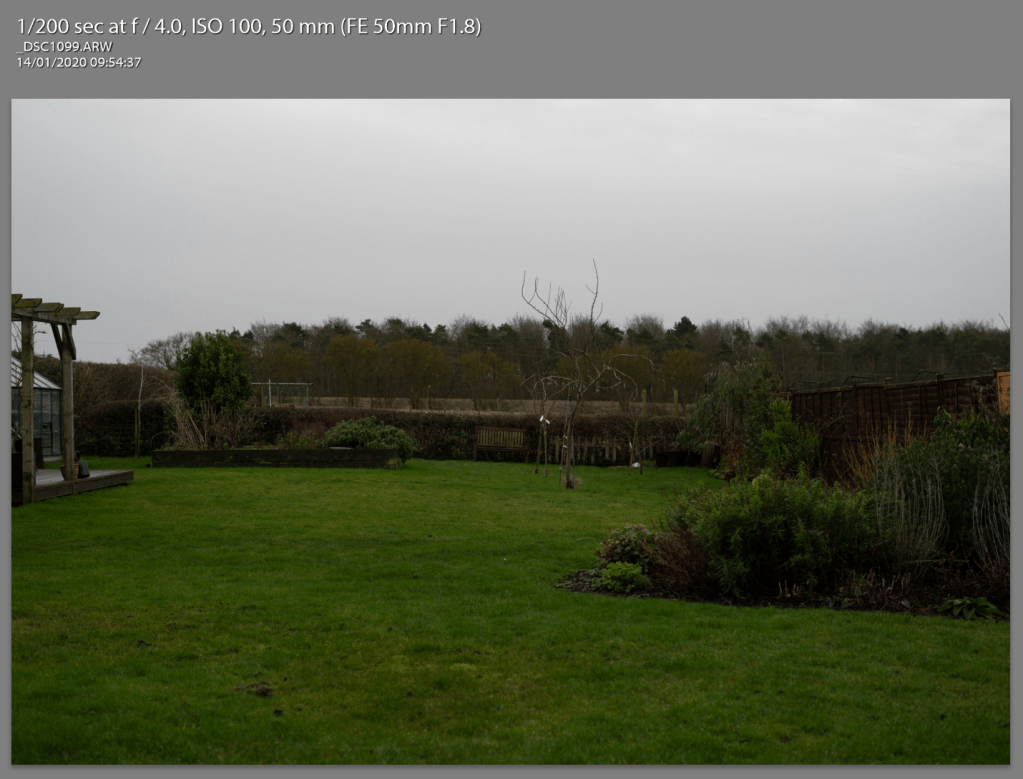
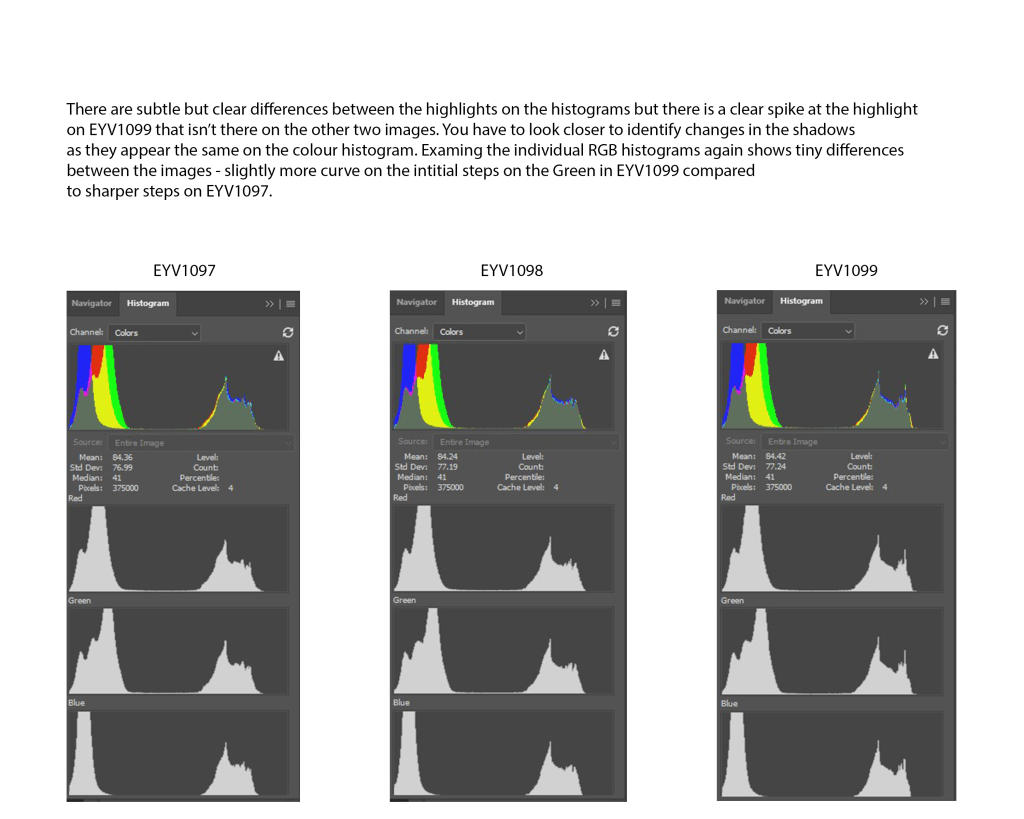
Visually there appears no difference but on closer inspection you may see some very minor differences in exposure to the sky. The the only other visible difference is a label on a tree. Both of these factors were caused by wind. Heres how they appear in the histogram.
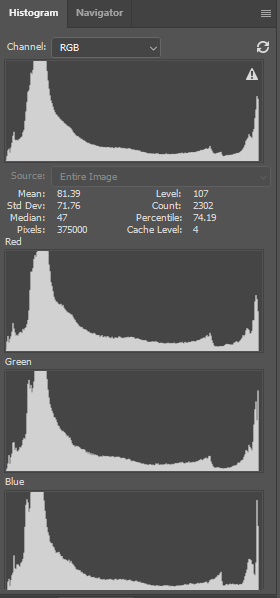
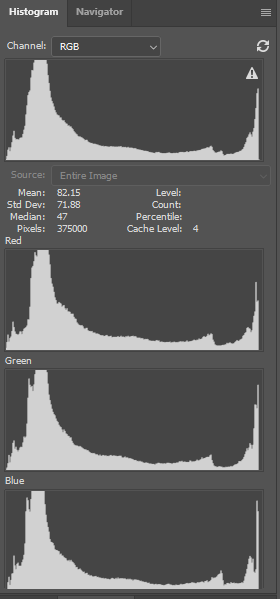
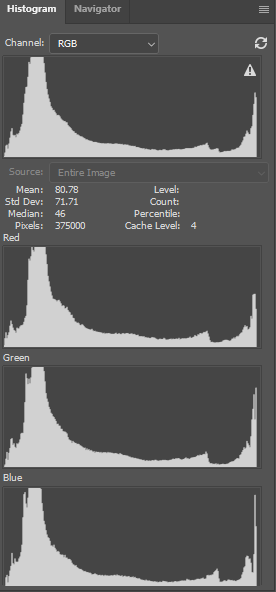
The indoor images were visually indistinguishable to me.
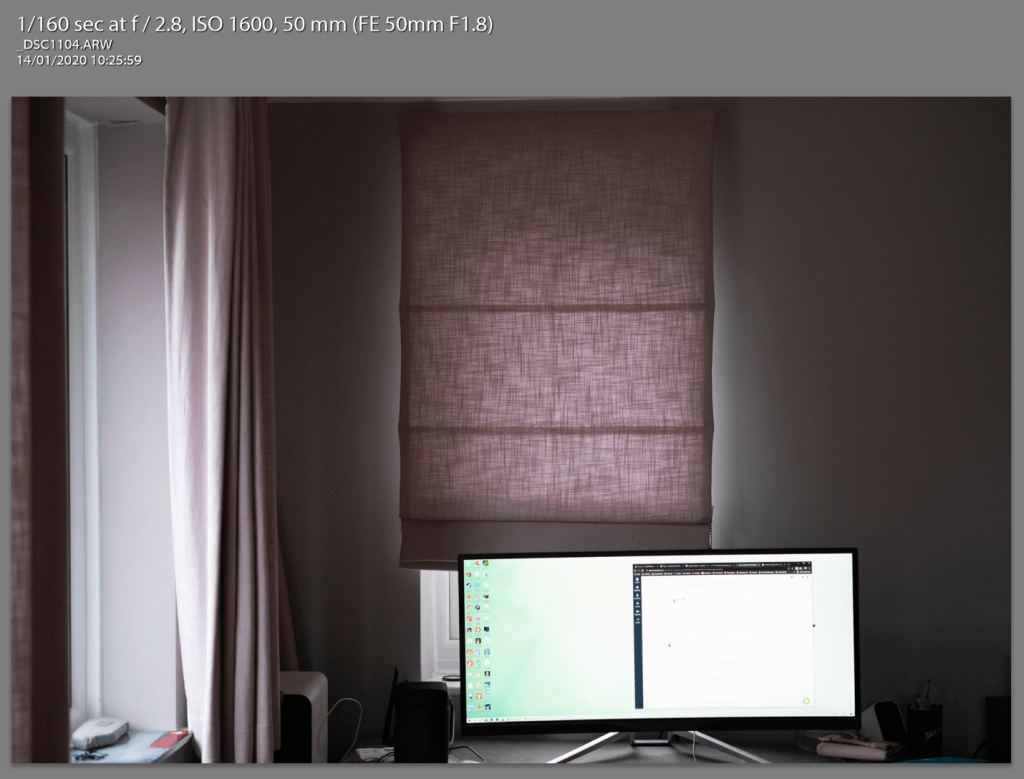

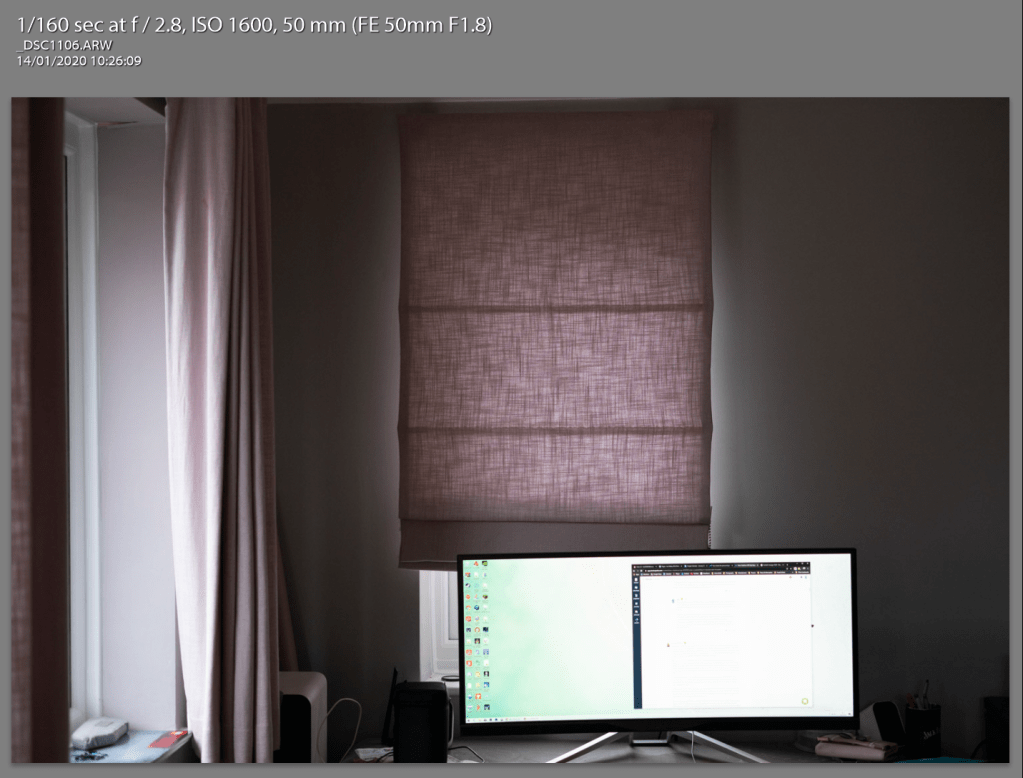
Here’s how the histograms looked, this time I used RGB for the histogram instead of colour as I though it might be easier to see differences. The lighting isn’t controlled but they are taken close enough together to not make a difference on a completely overcast day. And yet you can see tiny differences in the highlights on all three images.
For completeness heres how they looked through the eyepiece before taken…
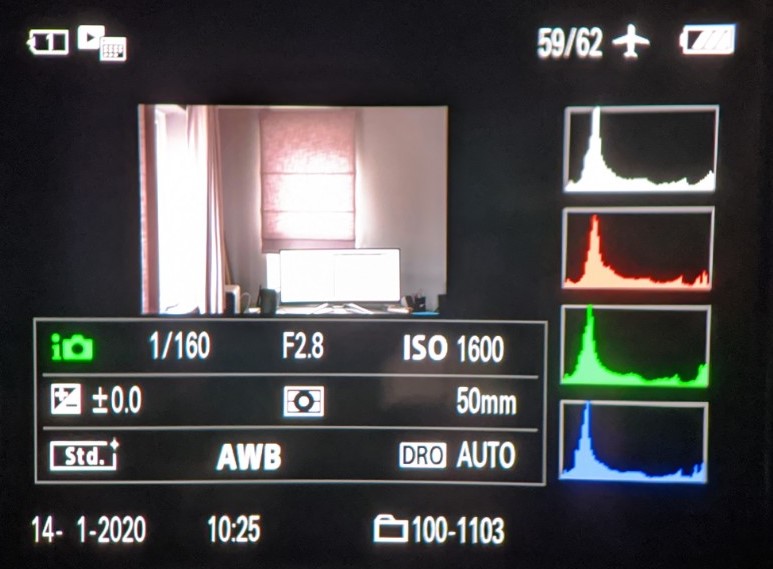

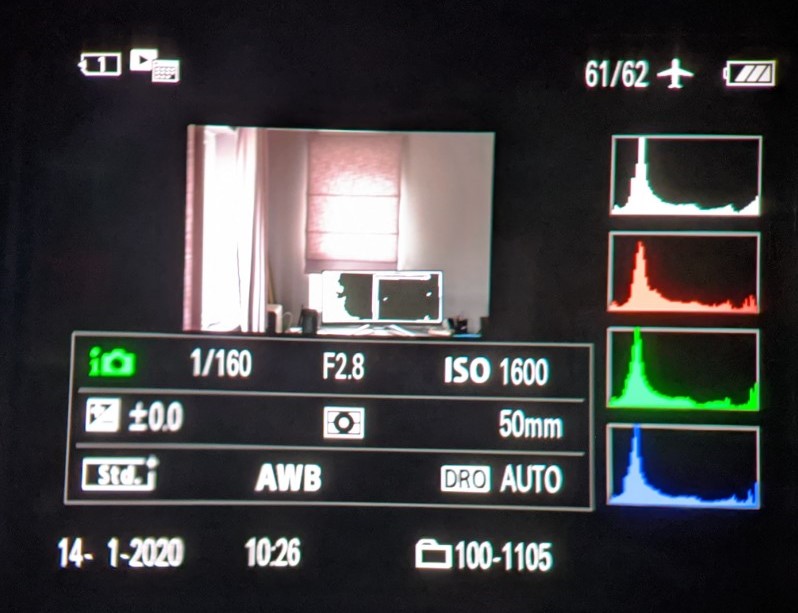
The eagle eyed amongst you may spot that on the top three the program mode is P and on the bottom three it’s i with a camera symbol (in green). My camera has P and AUTO modes and so I used them both on this exercise (AUTO being the bottom three)
